
Hey there, fellow quilting enthusiasts! It’s me, Gina, and today, I’m here to dive deep into the exciting realm of watercolor quilting. I stumbled upon this fantastic book titled “Quick Watercolor Quilts” by Dina Pappas. What caught my eye was a unique approach she mentioned – the use of fusible interfacing with grid lines for an efficient quilt assembly.
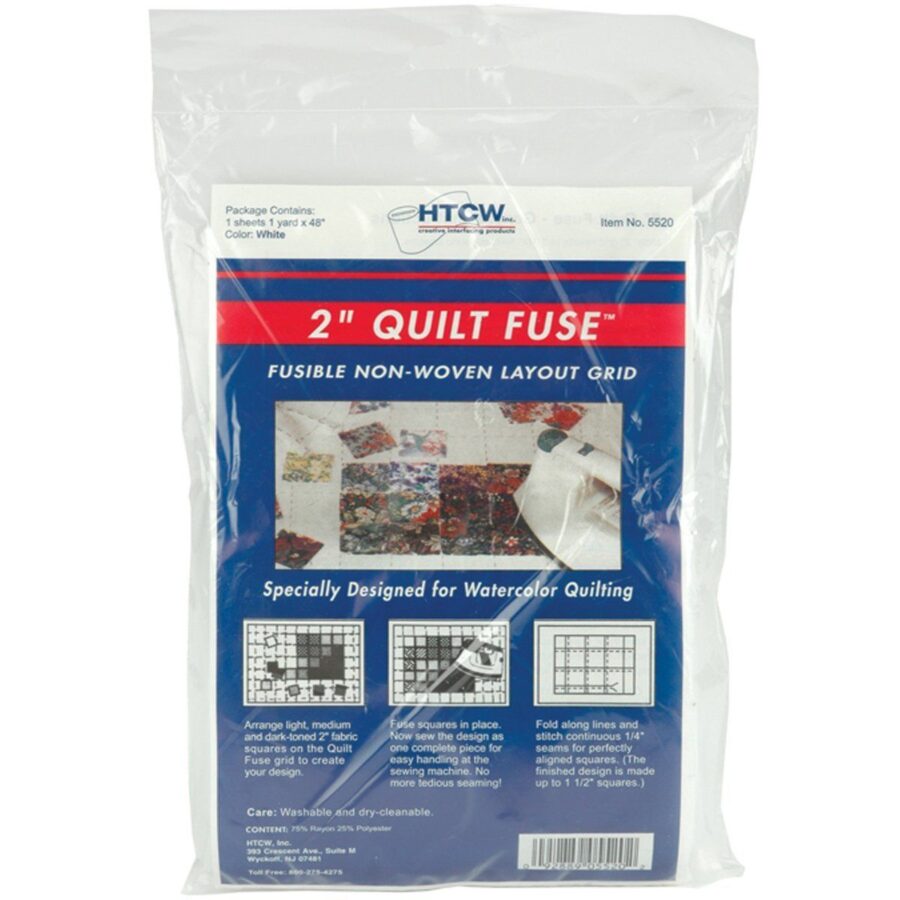
Now, if you’re wondering who manufactures this gem of a product, it’s HTC, Inc.! They’ve aptly named it Quilt Fuse. This fusible, non-woven interfacing has a 2-inch grid printed on it, perfect for watercolor quilts, bargello quilts, and basically any project that employs 2-inch fabric squares.
Being the curious quilter I am, I just HAD to try this out! I wanted my focus solely on the product, sidestepping all the intricate design and cutting stages. So, I got myself a kit: a super adorable snowman wall hanging designed by the talented Suzanne Cady from Family Heirlooms. This kit had it all, including the Quilt-Fuse and all the 2-inch fabric squares neatly pre-cut. ️⛄
My Quilting Journey with The Grid
To kick things off, I stretched out the Quilt-Fuse (bumpy side up) on my design board and pinned it down. Using the provided diagram, I placed each fabric square, bringing the snowman to life. A medium hot iron did the trick, fusing every square to the Quilt-Fuse.
Once everything was in place, it was sewing time! At every grid intersection, I made a tiny 1/4 inch cut. This helped alternate the seam allowances, making the whole sewing process a breeze. By the end, my snowman looked perfect, with each piece fitting just right.
Tips & Tricks for a Smooth Quilting Experience
- Pin your fabric squares to the grid, making ironing hassle-free.
- Sew straight seams! Especially crucial at the start and finish of each seam.
- Always check seam allowances before sewing. They should alternate – one up, one down.
- Before adding borders, square up the centerpiece edges. This prevents any unwanted waves in your quilt borders.
Now, let’s compare with chain piecing. With the latter, I’d have to sew a whopping 121 two-inch seams. But with the fusible grid method, just twenty-two 17-1/2″ seams. Talk about a time saver! Plus, the fusible grid compensates for any uneven cuts or fusions. The end result? A stunning quilt that’s impeccably straight and square. After this, I’ve firmly concluded that I’d never do a watercolor quilt without Quilt-Fuse.
Thinking of DIY-ing fusible grid? It’s an idea, but trust me, the effort might not be worth the payoff. You’d spend roughly the same amount and time compared to just getting Quilt-Fuse. So, let’s leave the heavy lifting to the experts, shall we?
Important Details at a Glance
| Product | Description |
|---|---|
| Quilt Fuse | Fusible, non-woven interfacing with a 2-inch grid. Perfect for watercolor and bargello quilts. |
| Usage | Helps in aligning 2-inch fabric squares. Makes the quilting process efficient and accurate. |
| DIY vs. Buying | Creating your own fusible grid is time-consuming and costs almost the same as purchasing Quilt-Fuse. |