Hey Quilting Enthusiasts! It’s Gina!
Ever felt the urge to dive right into a fresh quilting project without prepping your fabric? Been there, done that! But here’s a piece of advice from someone who’s stitched more quilts than she can count: Always, ALWAYS press your fabric first. It’s a game-changer! ✨
Why the Fuss about Pressing?
Simple! A pressed fabric gives your project a crisp, professional finish. It’s just like baking; you wouldn’t skip pre-heating the oven, right? Similarly, a properly pressed fabric ensures your final product is smooth, with precise measurements. Remember, if you sew over a wrinkle, it’s likely to stay forever, no matter how many times you try to iron it out.
Pressing vs. Ironing: The Ultimate Showdown
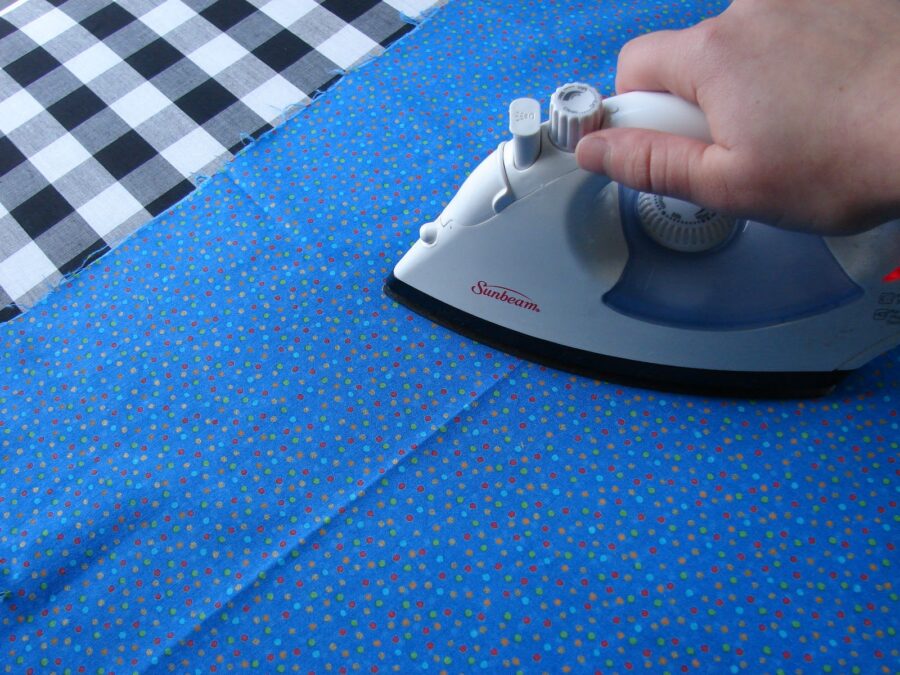
Though they sound similar, pressing and ironing are as different as chalk and cheese! When you’re pressing, you’re dabbing the iron up and down, no sliding involved. However, ironing is all about that back-and-forth swipe. So, for quilting, pressing is your best friend!
Essential Tools for Perfect Pressing ️
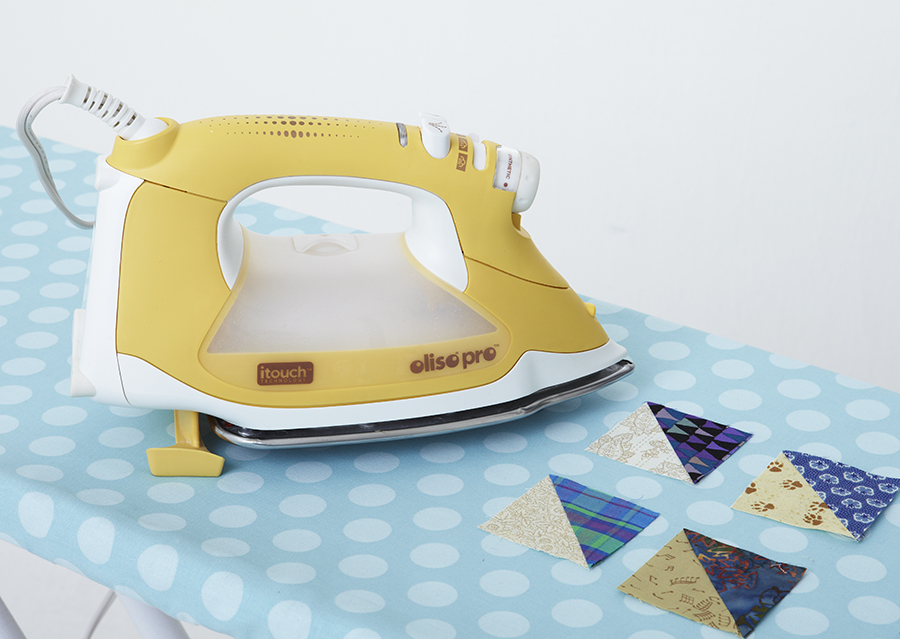
- A top-notch steam iron (a quilter’s magic wand! ✨)
- Ironing board and its trusty sidekick, the cover
- Press cloths galore! (from cotton muslin to velvet)
- The ever-so-helpful Padded Ham
Of course, there are extra tools like clappers, seam sticks, and point pressers, but for our basic needs, the above list has you covered. Pro tip: Ensure your press cloth matches the weight of your fabric.
Pressing 101: Gina’s Step-by-Step Guide
- Wash Before You Work: Always prewash your fabric. It helps in shrinking and ridding it of any manufacturing leftovers.
- Test the Iron: Before pressing the entire fabric, test a small corner. Especially with delicate ones, you’d rather be safe than sorry. And hey, use a pressing cloth for those fragile fabrics!
- Position, Position, Position: Lay the fabric on the ironing board with the wrong side up. For large fabrics, drape and adjust as you go.
- Spot the Wrinkles: You don’t need to press every inch. Focus on those stubborn wrinkles and creases.
- Press Away: Use the iron on each crease for a few seconds. If the wrinkle persists, give it another go. But avoid over-pressing; we don’t want any burnt masterpieces!
- Cut It Out: Once pressed, it’s best to cut your fabric immediately. Storing it can bring back those dreaded wrinkles.
Key Takeaways
| Details | Insights |
|---|---|
| Importance of Pressing | Makes your project look neat and professional. |
| Pressing vs Ironing | Pressing is dabbing, Ironing is sliding. |
| Essential Tools | Steam iron, Ironing board, Press cloths, Padded Ham. |
| Pressing Steps | Prewash, Test, Position, Spot wrinkles, Press, Cut. |