Quilting is a craft that requires the right supplies and a lot of patience and skill. If you want to get your quilt ready for quilting, there are several supplies that you should have on hand. Here is a complete guide on how to get your quilt ready for quilting:
1. Gather the Supplies: Before you start, make sure you have all the supplies you need. This includes fabric, batting, thread, scissors, pins, needles, and a rotary cutter.
2. Cut the Fabric: Cut the fabric for your quilt using a rotary cutter. Make sure the pieces are the same size and shape.
3. Layer the Fabric: Place the batting between the two layers of fabric. Pin the layers together, so they don’t move while you’re quilting.
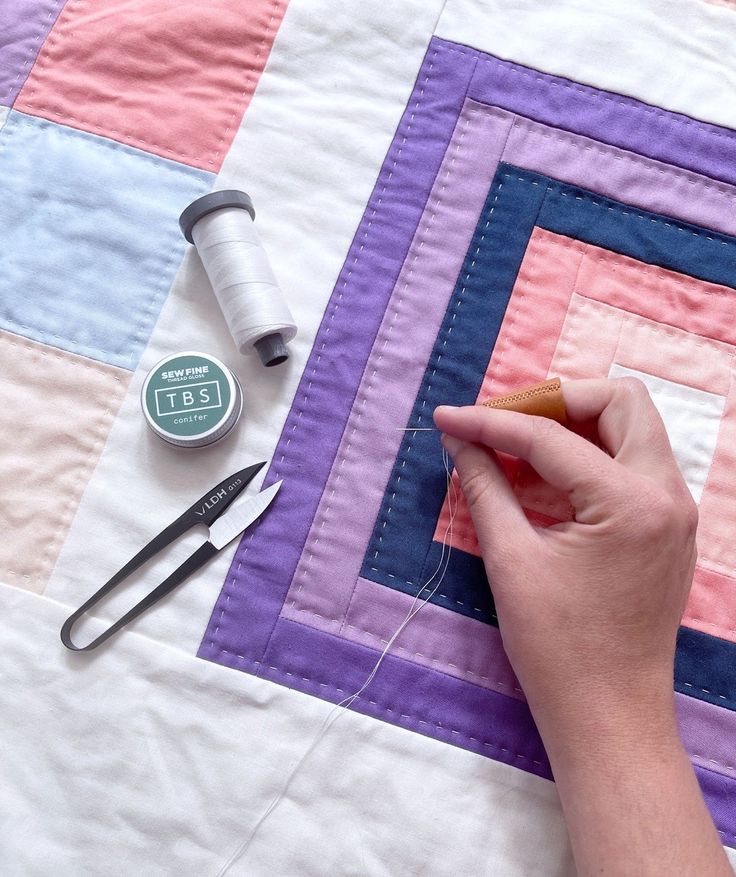
4. Baste the Quilt: Baste the quilt by hand or with a machine. This will help keep the layers together while you’re quilting.
5. Quilt the Quilt: Start quilting the quilt. Use a walking foot or free-motion quilting foot to quilt the quilt. You can also use quilting stencils to create patterns.
6. Trim the Quilt: Trim the quilt to the desired size. Use a rotary cutter or scissors to trim the edges.
7. Bind the Quilt: Bind the quilt to finish it off. You can use binding tape or fabric strips to bind the edges.
8. Label the Quilt: Label the quilt with your name and the date. This will help identify the quilt and make it easier to find in the future.
By following these steps, you can get your quilt ready for quilting. With the right supplies, patience, and skill, you can create beautiful quilts that will last a lifetime.
preparation
1. Prepare the backing fabric: cut to the correct size, press, and baste.
2. Choose batting: consider the desired thickness, weight, and warmth of your quilt.
3. Layer your quilt sandwich: place the backing fabric right side down, followed by the batting, and top with the quilt top right side up.
4. Baste the quilt sandwich: use safety pins, basting spray, or thread basting to secure the layers together.
5. Trim any loose threads from the quilt top and backing fabric.
6. Mark the quilt top for quilting: use quilting stencils, water-soluble markers, or chalk to mark the pattern or design.
7. Quilt the quilt sandwich: use a domestic machine or longarm machine to quilt the quilt sandwich.
8. Trim the quilt sandwich: use a rotary cutter or scissors to remove excess batting and backing fabric.
9. Square up the quilt: use a rotary cutter and ruler to trim up the edges of the quilt.
10. Bind the quilt: use a binding method of your choice to finish off the edges of the quilt.
How to Prepare a Quilt Top for Quilting: Washing Beforehand?
Washing your quilt top before quilting is important for many reasons. It helps set the colors, remove any excess dye, and eliminate shrinkage or puckering. It’s also a great way to pre-shrink the fabric to ensure that your quilt blocks lay flat and even.
Here are the steps to pre-washing your quilt top:
1. Gather your supplies:
-Quilt top
-Mild detergent
-Large sink or bathtub
2. Prepare the fabric:
-Check all seams, and make sure that they are secure.
-Pin any loose or open seams closed.
-Gently pre-treat any stains with mild detergent and cold water.
3. Wash the quilt top:
-Fill the sink or bathtub with lukewarm water and add a small amount of mild detergent.
-Gently submerge the quilt top and swish it around to ensure that all of the fabric is saturated.
-Allow the quilt top to soak for 15-20 minutes.
-Drain the sink and rinse the quilt top with cold water.
-Repeat the rinsing process until the water runs clear.
4. Dry the quilt top:
-Gently squeeze out the excess water.
-Lay the quilt top on a flat surface and allow it to dry completely before quilting.
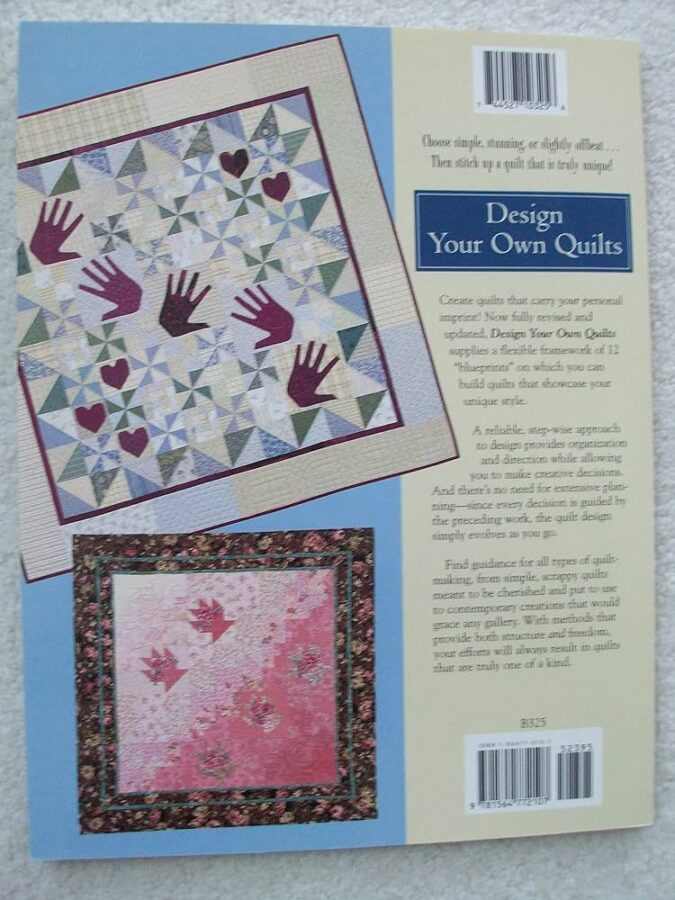
The Ultimate Guide to Quilting: Learn the Stages of the Quilting Process
The Ultimate Guide to Quilting: Learn the Stages of the Quilting Process is a book written by Shelley Swanland and published by Krause Publications in 2023. It provides an in-depth look at the quilting process, from selecting the right fabric and tools to creating beautiful quilts. The book covers topics such as fabric selection, cutting, piecing, quilting, binding, and embellishments. It also includes instructions for 25 quilting projects. The book is suitable for both beginner and advanced quilters, and provides helpful tips and advice for each stage of the quilting process.
How to Iron Fabric for Quilting: Tips for Cutting After Ironing
1. Before ironing, always check the fabric’s care label for the best iron temperature and other instructions.
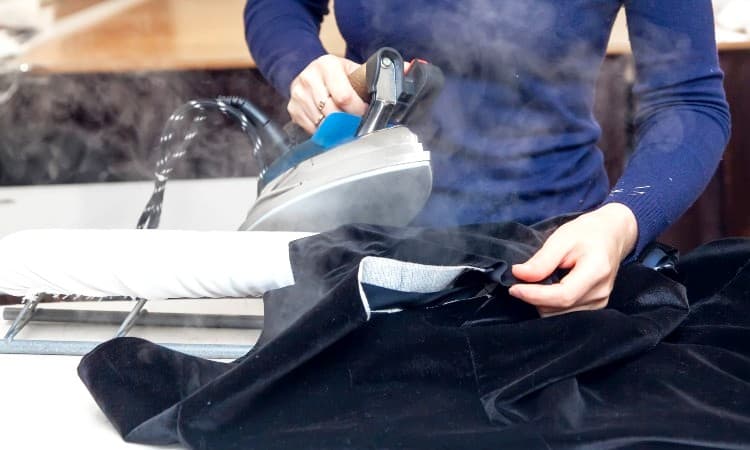
2. Use an iron with a steam setting for best results.
3. Iron the fabric on the wrong side first to prevent any shine.
4. Place the fabric on a pressing cloth or an ironing board to protect the fabric from direct heat.
5. Use a pressing cloth to avoid imprints or shine on the fabric.
6. Start ironing at the bottom and move up, pressing the fabric with the iron in one direction.
7. When ironing seams, press the seam open and then press flat.
8. Use a pressing mitt or a damp cloth to help press hard-to-reach areas.
9. After ironing, lay the fabric flat and let it cool before cutting.
10. Use a rotary cutter and an acrylic ruler to cut fabric accurately.
This guide is a great resource for anyone looking to get their quilt ready for quilting. It covers all the essential steps, including fabric selection, piecing, and basting, to help ensure that your quilt is quilted properly. With the help of this guide, you can make sure that the final result of your quilting project will be beautiful and long-lasting. We recommend that you follow each step carefully and use quality materials and tools to ensure the best results.
supplies
1. Gather all your quilting supplies, including your chosen fabric, quilting needles, thread, batting, and rotary cutter.
2. Cut your fabric into the desired shapes and sizes for your quilt top.
3. Lay out the pieces of fabric in the desired pattern and pin them in place.
4. Layer the batting between the quilt top and the backing fabric, then baste the three layers together.
5. Select the quilting design that you would like to use and mark it onto the quilt top.
6. Thread the quilting machine with a color of thread that coordinates with your quilt top.
7. Begin quilting, guiding the fabric through the machine slowly and evenly.
8. Once the quilting is complete, trim the excess fabric from around the edges of the quilt.
9. Press the quilt with an iron to ensure that the quilting stitches will remain intact.
10. Bind the edges of the quilt with bias tape or binding fabric.
11. Enjoy your beautiful quilt!