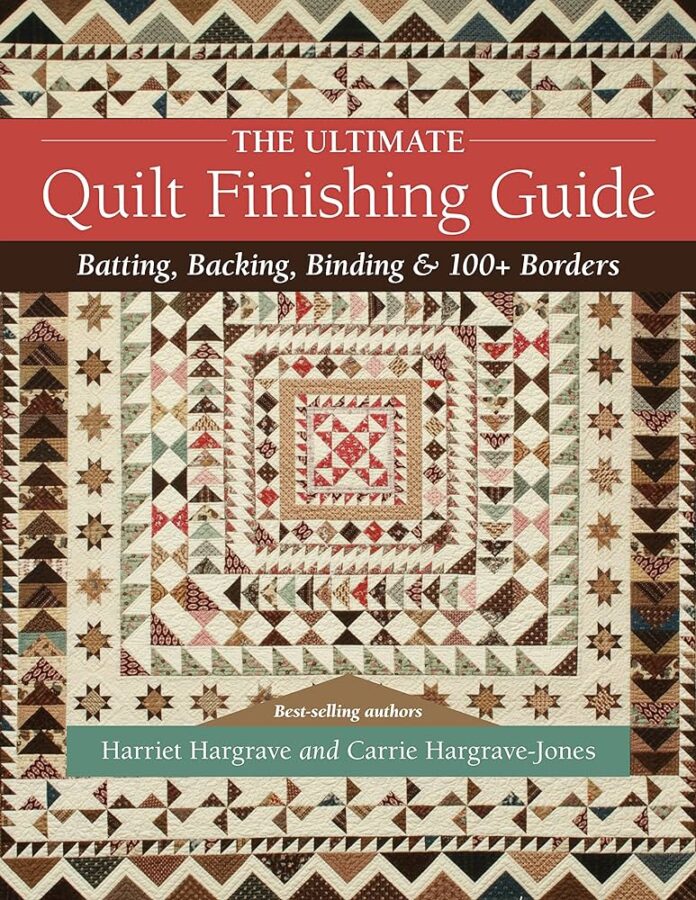
Repairing an old quilt is a great way to save a treasured heirloom or an item of sentimental value. Quilting can be a time-consuming and intricate craft, but the results can be stunning. With the right tools and materials, you can repair an old quilt and restore it to its former glory. Here is a step-by-step guide on how to repair an old quilt.
Step 1: Carefully Examine the Quilt
Before you start repairing your quilt, it’s important to examine it carefully. Look for signs of damage such as tears, loose threads, and worn out areas. Also check for fading or discoloration in the fabric. This will help you determine what materials you’ll need for the repair and how much time it will take.
Step 2: Gather the Necessary Materials
To repair your quilt, you’ll need a few essential materials. Choose a quilting fabric that is similar in color and texture to the existing fabric on the quilt. You’ll also need quilt batting, thread, scissors, a needle, and a thimble. If there are any large tears or holes, you may also need some quilt patches.
Step 3: Prepare the Quilt
Before you start the repair process, you’ll need to prepare the quilt. Start by removing any loose threads and smoothing out any wrinkles. If there are any large holes or tears, you can use the quilt patches to cover them.
Step 4: Sew the Quilt
Once the quilt is prepared, it’s time to start sewing. Begin by stitching the quilt batting to the quilt’s backing fabric. Use a simple running stitch to secure the batting in place. Once the batting is attached, you can begin stitching the quilt top. Again, use a running stitch to secure the fabric in place.
Step 5: Finish the Quilt
Once all the pieces of the quilt are stitched together, it’s time to finish it. Start by trimming any excess fabric from the edges. You can also add decorative quilting stitches for a unique look. Finally, attach a label to the back of the quilt with the name of the quilt and the date it was repaired.
By following these steps, you can repair an old quilt and give it a new lease on life. It’s a great way to preserve a treasured item or to create a meaningful gift. With a little bit of time and effort, you can restore your quilt and enjoy it for years to come.
1. Start by assessing the quilt for any damage. Pay attention to any holes, stains, tears, or fading.
2. Gently handwash the quilt in a bathtub or sink using a mild detergent.
3. If there are any holes, tears, or fading, patch them with a piece of fabric cut to fit the hole. Use a small zigzag stitch to secure the patch in place.
4. If there are any stains, use a gentle stain remover or spot cleaner to remove them.
5. Once the quilt is clean and patched, layer it with batting and backing fabric and pin them together.
6. Quilt the layers together using a sewing machine.
7. Hand stitch a binding around the edges of the quilt to finish.
Repair Guide: How to Fix a Damaged Quilt
A quilt is a type of sewing project that involves stitching together pieces of fabric in order to create a warm and inviting blanket. Unfortunately, quilts can become damaged due to regular wear and tear or improper storage. If you have a damaged quilt, don’t despair! There are several methods you can use to repair the quilt and make it look and feel like new.
1. Sewing Repairs: If the quilt is torn or has holes, you can use a needle and thread to make the repairs. Start by turning the quilt over and looking for the back of the quilt’s stitching. Use a needle and thread to replicate the same stitches as the original, making sure to keep the stitch size and spacing consistent.
2. Patchwork Repairs: If the quilt is especially damaged, you may need to use a patchwork technique to repair it. Start by cutting a piece of fabric that is slightly larger than the damaged area. Use a sewing machine to stitch the patchwork piece to the quilt. You may need to use a zigzag stitch in order to make sure the patchwork is securely attached.
3. Reinforcement Repairs: If the quilt is frayed or worn, you may need to reinforce the edges. Start by cutting a piece of fabric that is slightly larger than the area that needs to be reinforced. Use a sewing machine to stitch the piece of fabric to the quilt. Make sure to use a zigzag stitch to make sure the fabric is securely attached.
4. Cleaning Repairs: If the quilt is stained or discolored, you can use a gentle detergent and lukewarm water to clean the quilt. Make sure to follow the manufacturer’s instructions to ensure the quilt is not damaged during the cleaning process.
By following these tips, you can repair a damaged quilt and make it look and feel like new. It may take some time and patience to complete the repairs, but the end result will be worth the effort.
How to Repair Antique Quilts: Tips and Advice for Preserving Valuable Heirlooms
1. Start with an inspection: The first step in repairing an antique quilt is to carefully inspect it for any damage or areas of wear and tear. Make sure to look for any loose seams, missing patches, or other signs of damage.
2. Clean the quilt: Before attempting any repairs, gently clean the quilt with a mild detergent and air dry. It is important to use a gentle cleaning method to avoid damaging the delicate fabric.
3. Replace missing patches: If there are any missing patches, you can use replacement fabric that closely matches the original. If possible, use the same type of fabric and thread as the original.
4. Repair torn seams: If the seams are torn, you can use a small sewing machine to re-stitch the seams. Use a thread that closely matches the original and a small zigzag stitch.
5. Patch holes and tears: For small holes and tears, you can use a patch of matching fabric. Use a thin adhesive to secure the patch and hand-stitch the edges to secure it.
6. Use a pressing cloth: When pressing the quilt, always use a pressing cloth to avoid scorching the fabric.
7. Frame and store the quilt: To protect the quilt from further damage, consider framing it or storing it in a protective case.
How to Restore and Revive an Old Quilt: Step-by-Step Guide
1. Gather all the supplies you will need:
• Vacuum cleaner
• Mild detergent
• Soft brush
• Spray bottle
• Iron
• Cotton batting
• Sewing machine
• Needles
• Thread
2. Vacuum both sides of the quilt to remove any dirt or debris.
3. Fill a spray bottle with a mixture of mild detergent and water. Lightly mist the quilt with the solution and gently brush it with a soft brush.
4. Rinse the quilt with clean water and hang it to dry.
5. Once the quilt is dry, press it with an iron.
6. If the quilts batting has deteriorated, replace it with new cotton batting.
7. If the quilt is missing patches, use a sewing machine to sew them in place.
8. Hand-stitch any loose threads in place to secure them.
9. Hang the quilt in a place where it can get plenty of fresh air to keep it in good condition.
Caring for a 100 Year Old Quilt: Expert Tips & Advice
1. Cleaning: The best way to clean a 100 year old quilt is by using a vacuum cleaner with a gentle brush attachment. If the quilt is heavily soiled, it should be taken to a professional cleaner.
2. Storage: Quilts should be stored in a cool, dry place away from direct sunlight. Avoid using plastic containers, as they can trap moisture and cause damage. Instead, use breathable containers such as cotton or linen bags.
3. Handling: When handling a 100 year old quilt, be sure to use clean, dry hands. Never pull or tug on the quilt, as this can cause damage.
4. Preservation: To protect the quilt from further damage, it is important to have it professionally appraised and documented. This will help protect it from theft and ensure that its value is preserved over time.
5. Repair: If the quilt is damaged, it is important to seek out a professional quilter who can repair the item. They will be able to identify the best approach for restoring the quilt without causing further damage.
Overall, this guide provides a great starting point for anyone looking to repair an old quilt. It outlines the steps needed to properly assess the quilt, identify any potential problems, and repair the quilt with the appropriate techniques. The guide provides helpful tips and advice on how to properly handle and care for the quilt during the repair process. Additionally, the guide contains helpful tips on common repair techniques and tools that can be used to complete the job. With this guide, anyone can learn how to repair an old quilt. As a final comment, we recommend that quilters take their time and practice patience while repairing an old quilt, as it is a delicate job that requires careful attention to detail.
1. Start by inspecting the quilt for any loose seams or fraying patches.
2. If necessary, replace any worn fabric pieces with a matching material.
3. Sew the new pieces into place using a quilting machine or by hand-stitching.
4. Secure any loose threads or fraying edges using a zig-zag stitch.
5. Reassemble the quilt and stitch the layers together, using either a quilting machine or hand-stitching.
6. If desired, add quilting designs throughout the quilt to give it a finished look.
7. Once the quilt is stitched together, finish the edges with a binding or decorative trim.
8. Finally, press the quilt to give it a polished look.