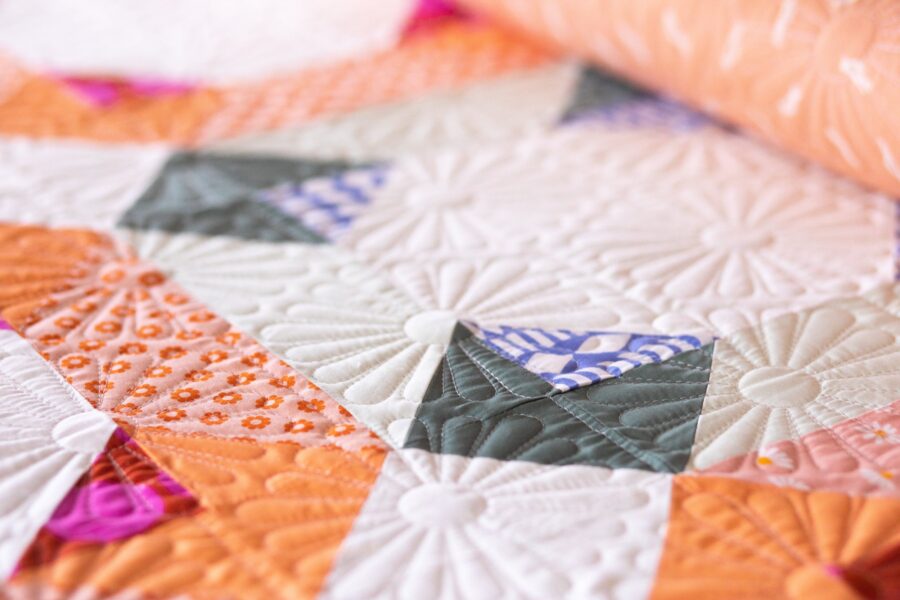
Ready to dive into the wonderful world of quilting? You might think once you’ve got your quilt top, batting, and backing all set, you’re good to go. Hold on a sec! There’s a tad more to do before you unleash that artistic energy.

Setting Up Your Quilt Sandwich
Here’s the thing: every quilt has a sandwich at its heart. This quilted trifecta consists of your quilt top, batting, and backing. Crafting your sandwich is a breeze, just remember the sequence:
1. Place your backing, wrong side up.
2. Layer on your batting (got questions about batting? I’ve got answers in another post!).
3. Cap it off with your quilt top, right side shining up.
A quick tip : Always ensure your quilt back is 3′ larger on all sides compared to your quilt top, and your batting matches the size of your back. For flawless results, iron out your top and back before sandwiching. If you spot wrinkles on your batting, a quick spin in the dryer with a damp cloth will do wonders!
Assembling the Sandwich: Space is Key
While the concept is simple, finding ample space can be a tad challenging. Here’s what you can do:
– Table Method: Got a spacious table? Great! Spread your sandwich, and weigh it down with heavy objects or tape.
– Wall Method: For those trendy wall-hung quilts, grab some painter’s tape. It’s awesome because gravity helps ensure even layers.
– Floor Method: Classic and effective. Lay your quilt on a hard surface. Carpets? Hmm, maybe not the best idea as they might not give you that smooth finish.
After laying it out, always double-check alignment with a square ruler. And please, no stretching that beautiful quilt top!
Time for Basting!
Post sandwich-making, basting is up next. Think of basting as the glue holding the layers of your quilt sandwich. Let’s dive into the techniques:
– Spray Basting: A temporary adhesive tailor-made for fabrics. Ensure it mentions “temporary”. Though quick and wrinkle-free, remember to use in well-ventilated areas. Pregnant buddies, steer clear of this!
– Pin Basting: Time-tested and popular. Place safety pins across the quilt to keep layers intact. It might require some patience, but it’s effective and budget-friendly. For optimal results, 1-1/2″ safety pins or curved basting pins are my go-to. Generally, you shouldn’t touch the quilt without grazing a pin.
– Hand Basting: The traditionalist’s favorite. Using long, relaxed stitches, you hold the quilt layers. They’re easy to remove, making it ideal for hand-quilt projects.
– Fuse Basting: A nifty method using fusible products. Layer double-sided fusible web on each batting side, or fusible tape for sandwich layers. A touch pricier, but a real time-saver.
Quilting Essentials Table
| Component | Description |
|---|---|
| Quilt Sandwich | Backing, Batting, Quilt Top |
| Space for Assembling | Table, Wall, Floor |
| Basting Methods | Spray, Pin, Hand, Fuse |