Hey Quilt Lovers! Gina here!

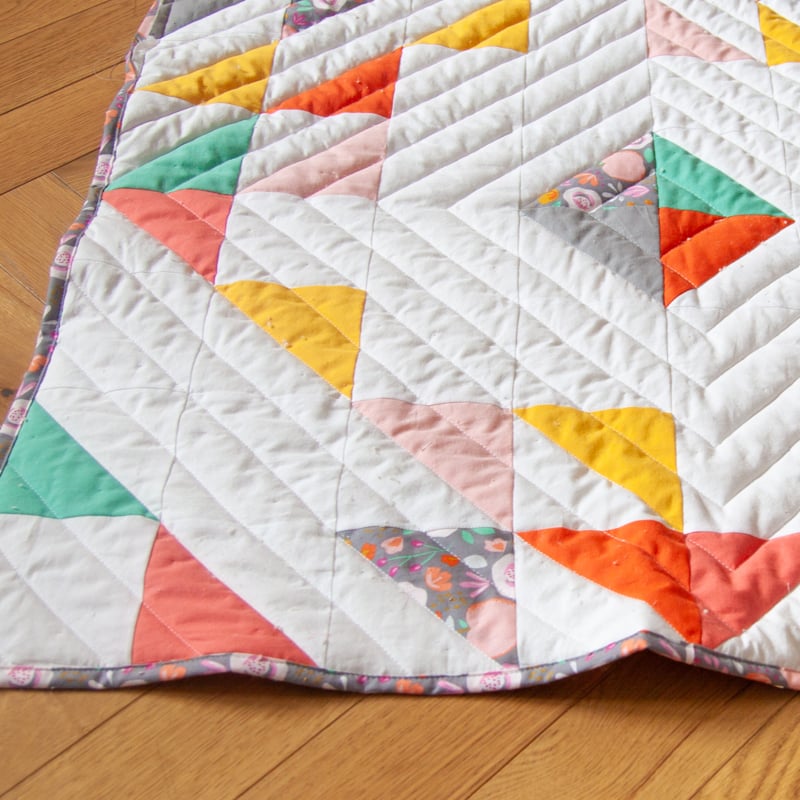
A lovely reader recently reached out with an all-too-common concern: “My quilted wall hanging’s borders aren’t sitting right against the wall. They have this wavy thing going on! What to do?”
Oh, honey, I’ve been there! So, if your quilt isn’t hugging the wall just right, let me walk you through my Gina’s Quilt Fixer-Upper guide.
Firstly, gently remove that binding and lay your quilt top right-side down on a nice, flat workspace. Maybe your favorite crafting table? ️ Align those corners to a perfect 90 degrees using a grid ruler. Got it? Awesome! Now, fix those corners onto your table with some masking tape. Work your way to the middle of each side, taping as you go, until that quilt is beautifully flat and squared up.
With that set, it’s misty time! Spritz a little water over the quilt, just so it’s a tad damp, but not drenched. Hold a hot steam iron above the quilt, letting the steam work its magic. Make sure you don’t actually touch the quilt with the iron! Let it dry, and if it’s still not sitting right, give it another steamy session or two.
A golden tip when you’re binding: make sure you neither ease nor stretch the binding. Balance is key! ️ And if it’s going to adorn your wall, slide a board into a casing at the bottom. It will give it that weighty feel, making it drape perfectly.
Now, a nugget from Gina’s Quilt Diary: Prevention is Everything!
Ask ten quilters about avoiding the wavy-quilt syndrome and you’ll get ten answers. But here’s my hot take:
1. Step-by-step pressing – Try it both ways, with and without, and you’ll see the magic. Just remember: press and place! Avoid the slide and glide to keep that fabric pristine.
2. Open those seams – Especially when a bunch of pieces come together, open seams are your bestie. Trust me on this! ♀️
3. Square as you go – Use your grid ruler and always account for seam allowance. Like crafting a dress? Add an inch or two before any embellishment and trim after. ✂️
4. Embrace the false back – Quilting might play with the shape. Try quilting atop a “false back” or just the batting. Once done, square it up and put on the real backing. It hides the imperfect stitches and ensures a flawless finish!
5. Blocking and steaming – Make it a ritual! Just like knitters block their masterpieces, treat your quilt to a spa day before adding the binding. ♀️
| Key Details |
|---|
| Remove and lay flat the quilt |
| Use grid ruler for alignment |
| Mist and steam (don’t soak!) |
| Balance the binding |
| Prevention: Step-by-step pressing, Open seams, Square regularly, False back, Block and steam |
Stay fabulous and happy quilting! Gina