Ever found yourself battling to get those impeccable square and triangle corners while quilting? Fear not, for I’ve got the perfect set of ironing tips to help you master that craft!
First things first, ditch that age-old belief about ironing the seam always towards the darker fabric. Once your layers are connected – front, back, and batting – the darker fabric shouldn’t be visible. But, oh dear, if it does peek through, snip that dark fabric a tad closer to the seam line.
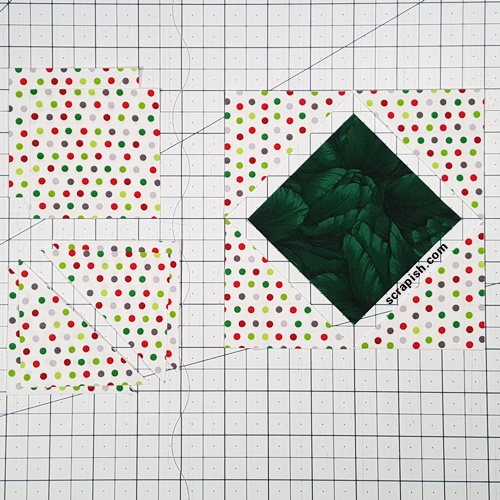
Got corners that are about to meet? Here’s a trick: iron them in opposite directions! Same goes for joining squares of half-square triangles – ensure the diagonal seams are also ironed in opposing directions. Trust me, this magic move will bid goodbye to pesky lumps and let those corners match effortlessly.
Another golden nugget: ensure you iron rows of squares with seams lying in contrasting directions. This way, when you push seams tightly against each other and pin both sides, they’ll blend seamlessly (pun intended!). But hey, if you miss perfection by a whisker, remember the quirky saying – if you don’t notice it on a speeding horse, it’s just fine!
And hey, for my friends working with half-square triangle blocks: iron matching seams in opposite directions and then join ’em up, just as the visual guides suggest.
A Few Chirps from My Fellow Quilters:
1. “For matching seams, I swear by the Eleanor Burn’s technique. Feel the seams ‘lock’ into each other and skip the pins! Pinning sometimes tweaks the seams.”
2. “As a quilting rookie, I knew about ironing in opposite directions, yet sometimes missed the mark. Tried Eleanor’s method, and bam! Seamlessly perfect and pin-free. The mantra is simple: sew slow and steady! ”
3. “Try sewing with the seam allowance on top; the machine nudges both seams together. Handy tools like seam rippers or awls can assist in keeping the seam allowance in check. ”
4. “Earlier, I’d sew with the top seam folded away, thinking it would glide easier. Not anymore! ”
An Intriguing Query: “Triangle piecing leaves me with a bothersome ‘bump’ where many points congregate. I realize seam allowances are the culprits, but how to get it flat?”
Gina’s Solution: Achieving a bump-free triangle zone boils down to thoughtful pressing. Aim to iron all seams towards the darker hue and watch them ‘nest’ harmoniously. ️ This not only cuts down on bulkiness but also enhances accuracy. Alternatively, ironing seams open, especially for an eight-point star, paves the way for a flatter block. While some quilters are apprehensive of this method due to potential bearding (batting fibers seeping through the seam), it’s worth a shot.
By the way, hunting for a dream quilting iron? Stay tuned for my top picks in an upcoming post!
| Key Points | Details |
|---|---|
| Ironing Direction | Opposite directions for matching corners |
| Eleanor Burn’s Technique | No pins, seams ‘lock’ into place |
| Triangle Piecing Tip | Iron towards darker hue or open seams |
| Quilting Iron | Top recommendations coming soon! |