Quilting 101: Mastering Stitching in the Ditch

So, you’re eager to dive into the world of quilting with your trusty sewing machine, but the term “stitch in the ditch” has left you scratching your head? Fret not, my fellow quilting enthusiast! I’m Gina, your quilting guide, and I’m here to demystify this technique for you.
Stitching in the Ditch for Quilting Newbies
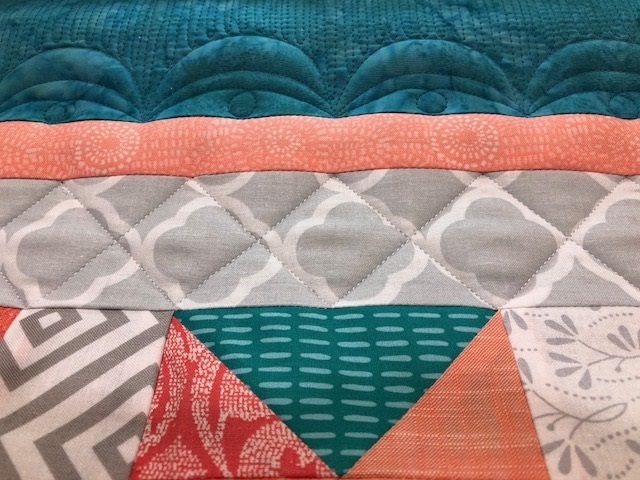
Stitching in the ditch is a fantastic starting point for aspiring machine quilters, especially if you’re just setting out on this creative journey. Here’s the scoop: when you stitch in the ditch, you use a handy-dandy walking foot to craft long, neat lines of quilting right along the seams, or as we fondly call them, the “ditches,” of your quilt top.
But hold on, there’s a catch – you’ve got to keep that stitch in the ditch at all times! No wandering stitches allowed. It’s crucial to ensure your seams align perfectly so that your stitching remains on a blissfully straight path.
Pressing Matters
Now, let’s talk pressing – it’s a game-changer when you’re working on stitching in the ditch. If you haven’t nailed the art of pressing, you might run into trouble when quilting those seams. Press your seams to one side, and double-check that there are no pesky pleats obstructing your needle’s journey. Your quilt blocks should be as smooth as a freshly ironed shirt before you start layering.
Watch That Needle!
When you’re knee-deep in stitching, remember to keep a close eye on that needle. ️ Make sure it’s hugging the seam with every single stitch. Don’t get hung up on where your foot is positioned – focus on that needle! As a beginner, it’s wise to practice on a small quilt sandwich first to get the hang of it.
Working with the Grain
Now, here’s a golden tip: start quilting along the seam that runs parallel to the lengthwise grain of your batting and lining. This helps avoid any unwanted stretching or distortion. And here’s a gentle reminder – resist the urge to push and pull your quilt through the machine. Your trusty walking foot is designed to feed the top fabric evenly with the backing. Let it do its job!
Embrace the Learning Curve
I won’t sugarcoat it – machine quilting can feel a tad awkward at first. But remember, it’s all about practice, practice, and more practice. ️♀️ Don’t give up! With time and dedication, you’ll become a machine quilting maestro.
Ready to Dive In?
Before we wrap up, here’s a fantastic video that’ll walk you through the process of stitching in the ditch. Enjoy!
Now, let’s summarize the key takeaways in a handy table:
| Technique | Stitching in the Ditch |
| Essential Tools | Walking Foot, Well-Pressed Seams |
| Stitching Focus | Keep the Needle on the Seam |
| Starting Point | Begin with Lengthwise Grain Seam |
| Persistence | Practice Makes Perfect! |
Happy quilting, my friends! ✂️