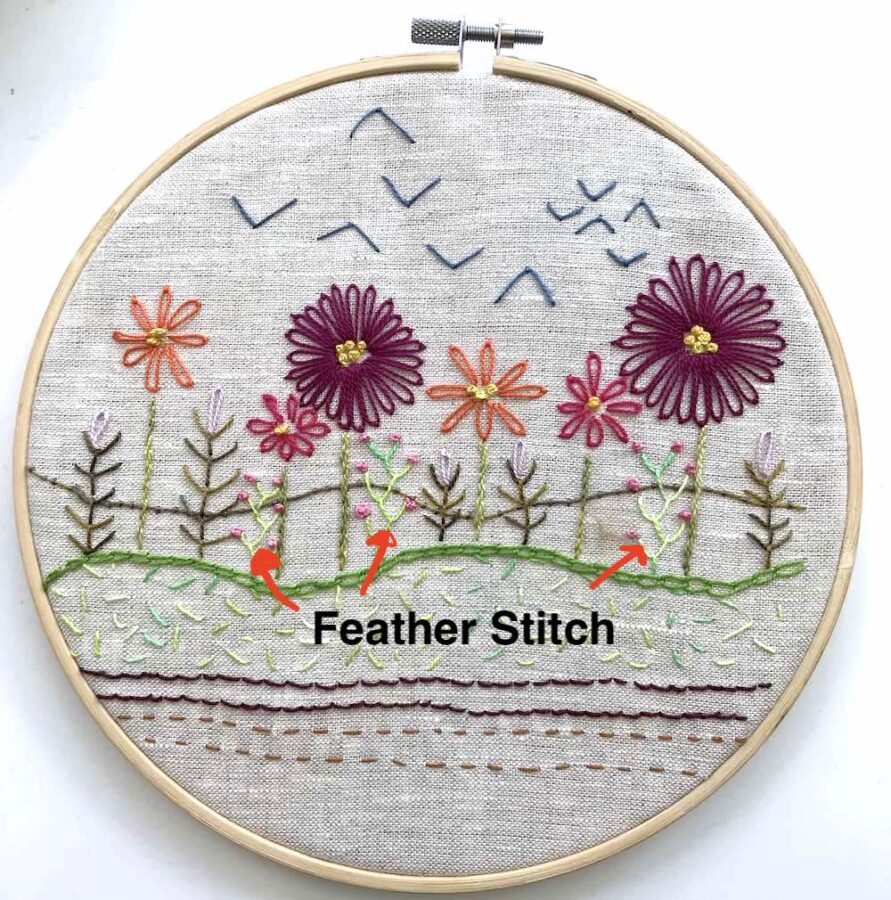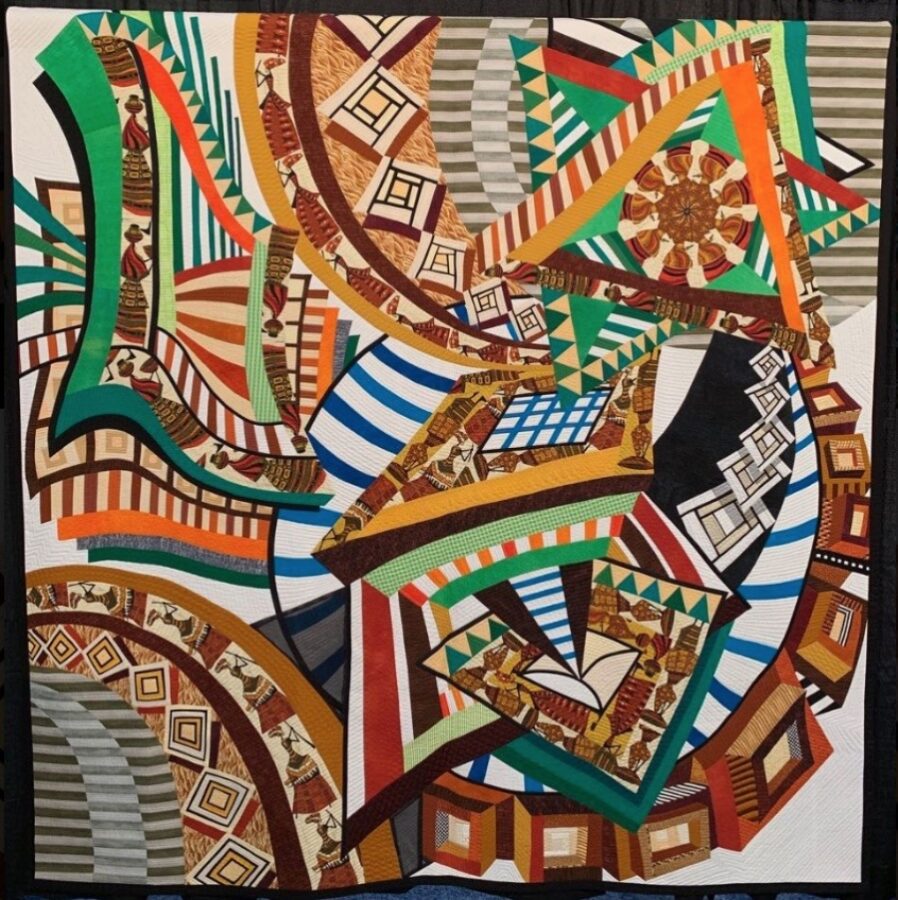
Quilting is pure magic, but did you know that adding a touch of hand embroidery can elevate your creation to an entirely different realm? Let’s dive into the mesmerizing world of hand embroidery, where mastery of some foundational stitches can truly transform your quilting projects. The best part? You don’t need a high-tech machine to start embroidering. Here are five essential hand embroidery stitches every newbie should get familiar with:
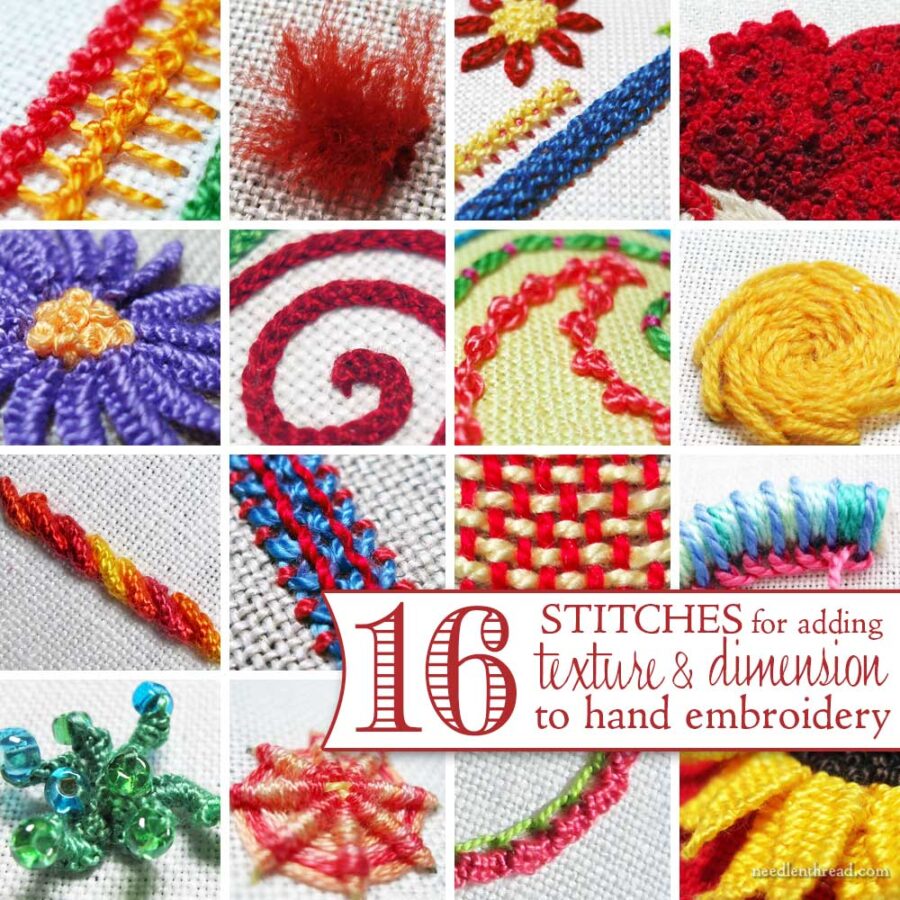
1. Back Stitch
Searching for a delicate, thin stitch? Look no further than the back stitch! Perfect for outlining and adding finesse, it’s super easy to get the hang of.
– Start by pushing the needle up from the fabric.
– Create a single stitch by taking it back down a bit ahead.
– Then, from a space ahead, bring the needle up again through the end of your previous stitch.
Keep repeating, and voila! If you’re a visual learner, countless YouTube tutorials can guide you through the process.
2. Split Stitch
An absolute favorite for floral stem outlines!
– Initiate with embroidery floss and split the stitch both lengthwise and widthwise.
– Opt for a six-strand floss to split the strands effortlessly.
And if you’re scratching your head trying to picture it, YouTube’s got your back with plenty of demonstrations!
3. Running Stitch ♀️
A quintessential for embroidery design outlines!
– Begin by pushing your thread up through the fabric.
– Stitch forward by taking the needle down a small distance away.
– Rinse and repeat!
Simple, right? But if you’re feeling a bit tangled, some YouTube tutorials explain it with crystal clarity.
4. Satin Stitch
Desire a luscious, smooth finish? Here’s your go-to! These stitches resemble satin’s sleekness.
– Start with straight stitches to create an outline.
– Ensure the satin stitches fill the interior of this outline.
Accuracy in spacing is key to mastering this. Pro tip: Try cross-stitching fabric to measure stitch length and spacing perfectly. And, yes, YouTube has tutorials to help you ace this too!
5. Stem Stitch
A beginner’s favorite!
– Push the thread up from the fabric’s back.
– Take it down a stitch’s length away.
– Bring it back up through your preceding stitch, and then down again through the stitch’s center.
Repeat and watch your design blossom! And if you’re stuck, YouTube offers step-by-step guides to ensure perfection.
But hold on, that’s not all! There are a plethora of stitches to explore, like the:
– Lazy daisy
– Chain
– Feather
– Seed
– Herringbone
– French knot
As you journey through embroidery, keep experimenting and mastering newer stitches to enhance your future projects. Happy embroidering!
| Stitch | Description |
|---|---|
| Back Stitch | Thin stitch perfect for outlining. |
| Split Stitch | Ideal for floral stem outlines. |
| Running Stitch | Essential for design outlines. |
| Satin Stitch | Smooth stitch with a satin-like finish. |
| Stem Stitch | Versatile, often a starting point for beginners. |