
Hey there, fellow craft enthusiasts! It’s Gina
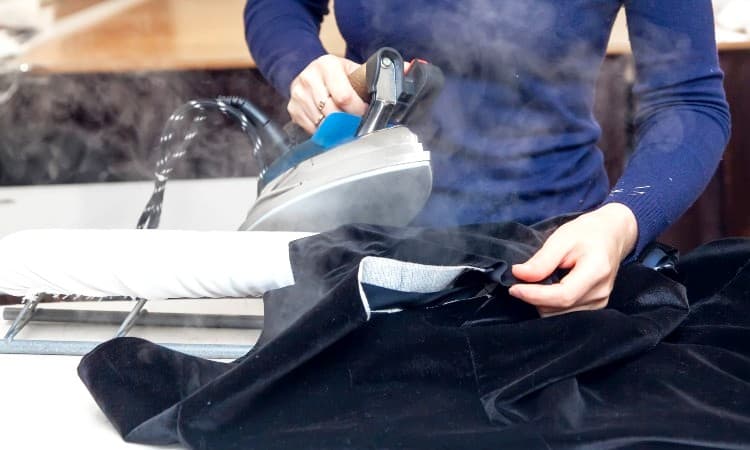
Have you ever marveled at the rich texture of velvet? It’s no wonder we love it—it brings an instant touch of luxury and depth to our creations. Whether you’re into fashion or sprucing up your space, velvet surely makes a statement. But hold up! Ironing velvet isn’t always a cakewalk. Fear not, though! I’ve got you covered on how to make your velvet pieces shine without a glitch. Ready? Let’s dive in!
1️⃣ Preparing Your Tools: The Iron & Board
Before we start, remember: velvet is like the diva of fabrics—sensitive and demands careful handling. You don’t want it scorched or flattened! First things first, adjust your iron to a low heat setting. Those steam functions? Give them a rest for this job. If you’ve got a special velvet or silk setting, even better. And let’s pamper our velvet a bit by laying a clean, white towel on our ironing board. Think of it as a protective blanket against any sneaky dust.
2️⃣ Positioning the Velvet
Lay the velvet dreamily on your board, right side down. Smoothen out any stubborn wrinkles gently—no pulling or stretching, okay? Remember, we want it looking fab, not frazzled.
3️⃣ Say ‘Hello’ to the Pressing Cloth
Introduce a pressing cloth to the mix—this little guardian shields the velvet from direct contact with the iron. A simple white cotton cloth or muslin is your best bet. Stay away from colored or synthetic ones; we don’t want any unwanted surprises.
4️⃣ Ironing Time!
With a gentle hand, press the iron onto the velvet in soothing, circular motions. No back-and-forth action—it’s not a race! Lift and place the iron as you move to different sections. Slow and steady wins the race here.
5️⃣ Patience, Crafters!
Once you’re done, let the velvet chill for a bit—allow it to cool completely. This will solidify its grace. When storing, opt for folding or rolling; hanging might just stretch its charm away.
Oh, and if you’re in the market for a quilting iron or a cute mini one for on-the-go crafting, I’ve got some cool suggestions. Stay tuned for more!
| Key Steps | Details |
|---|---|
| Iron Settings | Low heat, no steam. Use velvet/silk setting if available. |
| Velvet Position | Right side facing down on a clean, white towel. |
| Pressing Cloth | White cotton cloth or muslin. No colored or synthetic materials. |
| Ironing Technique | Circular motions, no back-and-forth gliding. |
| Post-Ironing | Allow to cool before storing. Fold or roll for storage. |


